

It usually starts quietly. A load of towels that used to dry in one cycle now needs a second, and then a third. The top of the dryer feels hotter than it used to, and the laundry room gets muggy. One evening the drum is still turning, but the air coming out is cold.
Ask anyone who does appliance repair in Vancouver what the most common dryer complaint is, and “it runs but won’t heat” will be at or near the top of the list. A surprising number of those calls trace back to a part of the dryer most people never look at: the duct that carries hot, damp air out of the house.
So, does cleaning that vent actually prevent breakdowns? The honest answer is yes for a specific group of failures, and no for others.
The Short Answer
Cleaning the vent prevents, or at least delays, most heat-related failures. These include blown thermal fuses, worn-out thermostats, burnt heating elements, and extra wear from a dryer running twice as long as it should.
It won’t prevent mechanical failures that come with age, such as worn drum rollers, a snapped belt, a failed door switch, or a faulty control board. A clean vent also does nothing for lint that has already worked its way inside the dryer cabinet. That’s a separate problem with its own fix.
The rest of this post explains why.
How a Dryer Actually Moves Air
A vented dryer is basically a heater and a fan connected to a pipe. Air is pulled in, heated by an electric element or a gas burner, pushed through the tumbling clothes to pick up moisture, then drawn through the lint screen by a blower and pushed out through the exhaust duct to a hood on the outside wall.
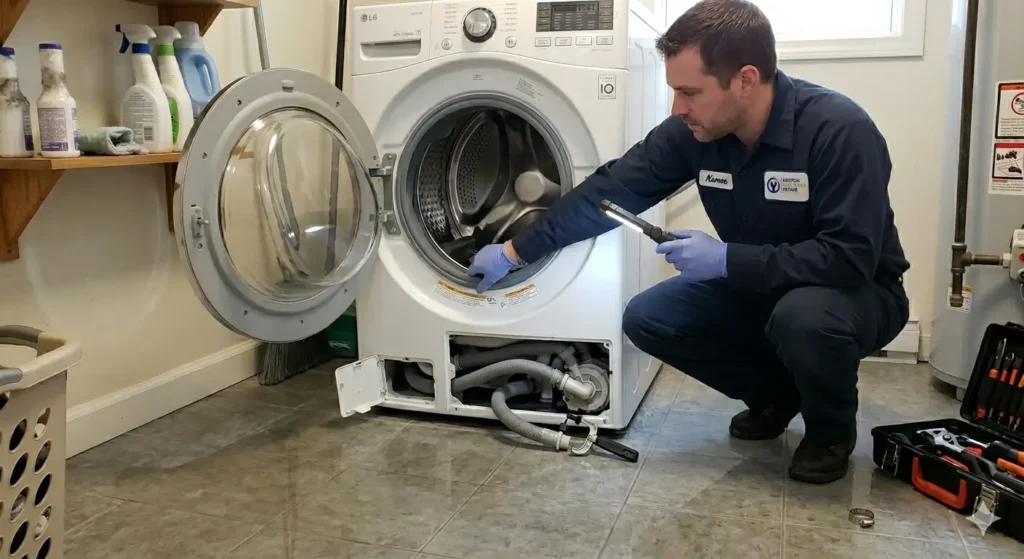
Everything about how the dryer works depends on that air leaving freely. Moisture leaves with it, and so does heat. When the air can’t get out, both stay inside the machine.
To keep that heat in check, every dryer has a chain of safety and control devices:
- A cycling thermostat that switches the heat on and off to hold the target temperature.
- A high-limit thermostat that cuts the heat if temperatures climb past a safe point.
- A thermal fuse, a one-time device that blows permanently if things get hot enough. Once it’s blown, it doesn’t reset.
- On many newer models, a moisture sensor or thermistor that tells the control board when the clothes are dry.
These parts are built to handle normal operating temperatures and the occasional spike. What they aren’t built for is running hot every cycle, for months on end.
What Happens When the Vent Starts to Clog
Lint builds up gradually. Even with a clean lint screen, some fibers get past it every load, and they settle wherever the duct bends, sags, or has a rough surface. Over a year or two, a 4-inch duct can narrow to a fraction of its original opening.
The dryer doesn’t fail right away. It struggles, and the struggle usually unfolds in a predictable order:
- Drying times get longer, because moist air can’t escape fast enough for the clothes to dry.
- Internal temperatures rise, and the high-limit thermostat starts cutting the heat over and over. It was designed as an emergency backstop, not something that trips every cycle.
- The high-limit thermostat wears out. Eventually it either sticks open, so you get no heat, or fails to cut the heat when it should.
- The thermal fuse blows. That’s the last line of defense doing its job, and it leaves you with a drum that tumbles cold.
- The heating element or gas igniter takes extra stress from repeated overheating and on-off cycling, which shortens its life.
- The motor, belt, drum rollers, and bearings all accumulate extra running hours because every load takes longer than it should.
One detail matters a lot here. When a thermal fuse blows on a dryer with a clogged vent, replacing only the fuse doesn’t fix anything. The restriction is still there, and the new fuse is on borrowed time. Repair technicians see this pattern constantly: a fuse swapped by a homeowner or a rushed tech, followed by the same no-heat problem a few weeks later.
Breakdowns a Clean Vent Helps Prevent
When the vent stays clear, the dryer runs the way it was designed to, and several common failures become much less likely:
- Blown thermal fuses. This is the clearest connection. Restricted airflow is one of the most common reasons a fuse blows at all.
- High-limit and cycling thermostat failures. These parts last much longer when they aren’t cycling against a blockage every load.
- Heating element burnout. Elements fail sooner when they’re repeatedly overheated, and a clear vent reduces that stress.
- Gas burner component wear. On gas dryers, the igniter and gas valve coils cycle more often when the dryer runs hot and long.
- Premature wear on moving parts. Shorter cycles mean fewer hours on the motor, belt, rollers, and idler pulley each year.
- Faulty dryness readings. Moisture sensors and thermistors give more accurate readings when airflow is normal, which helps avoid over-drying and damaged fabrics.
If your dryer has needed a heat-related repair before, it’s worth asking whether the vent was part of the cause. A technician doing dryer repair should check airflow as part of any no-heat diagnosis.
Breakdowns It Won’t Prevent
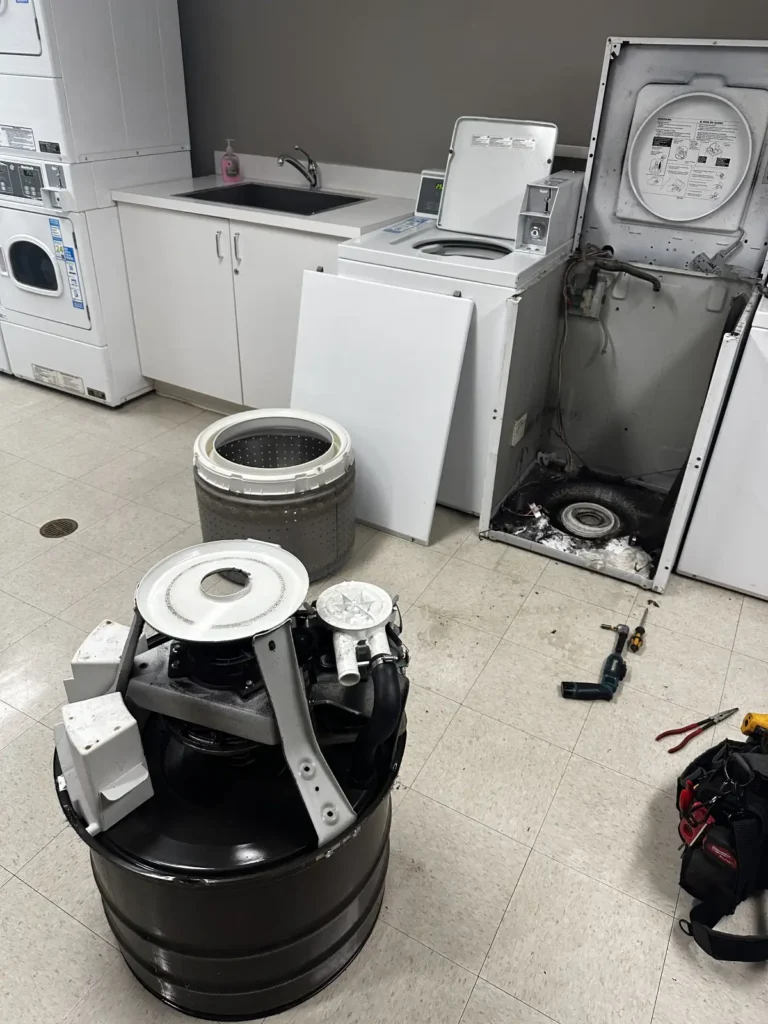
It’s important to be clear about the limits, because vent cleaning sometimes gets oversold. A clean duct won’t stop:
- A drum belt that snaps from age or rubber fatigue
- Drum rollers or glides that wear down and start squealing or thumping
- A door switch or start switch that stops making contact
- An electronic control board failure, especially from power surges
- A motor that fails from bearing wear unrelated to run time
- Water-damaged components in a stacked unit, from a leak in the washer above or beside it
Many of these show up as noise, a dryer that won’t start, or a drum that doesn’t turn, rather than as a heat problem. If that’s what your dryer is doing, the vent is probably not the cause. A proper diagnosis will tell you what is.
The Fire Question
This is where vent cleaning stops being about drying times and becomes a safety issue.
Lint is light, dry, and highly flammable, and a dryer is a heat source that runs for close to an hour at a time. Put the two together in a restricted space, and the risk is easy to see. In its analysis of home fires involving clothes dryers and washing machines, the National Fire Protection Association found the leading cause to be failure to clean, accounting for 33 percent of those fires. In other words, the most common factor wasn’t a defective machine. It was lint that nobody cleared.
Timing matters here in the Lower Mainland. From October through March, rain and short days leave most households with no option but the dryer. Machines run more loads, back to back, during the very months when a partly blocked vent is under the most strain. If your vent hasn’t been cleaned in a while, early fall is a good time to deal with it.
Canadian fire services and manufacturers give consistent advice on the ducting itself. The City of Toronto’s fire safety guidance warns that plastic and foil ducts kink, sag and crush more easily, which traps lint, and that plastic ducting can also ignite or melt. Dryer manufacturers say the same thing in their own safety advisories. If the connection behind your dryer is a flimsy accordion-style duct, replacing it with rigid or semi-rigid metal is one of the cheapest safety upgrades you can make.
The Lint You Can’t See
Here’s something many homeowners don’t realize. Cleaning the vent duct doesn’t clean the inside of the dryer.
In testing, U.S. Consumer Product Safety Commission staff found that lint starts accumulating inside the dryer chassis even when the dryer is installed according to the manufacturer’s instructions and the lint screen is cleaned. Over time, fibers collect around the blower housing, under the drum, near the heater and behind the lint screen housing.
This is especially common in homes where the previous owner wasn’t careful about the lint filter. A homeowner who has just moved in can inherit a dryer that runs and tumbles but barely dries. The duct may be fine. The problem is a cabinet packed with lint from years of neglect. Fixing it means taking the dryer partly apart and cleaning the internal components, which is usually a quick job for a technician but not one most people should attempt themselves.
Why Vancouver Homes and Condos Are Hard on Dryer Vents
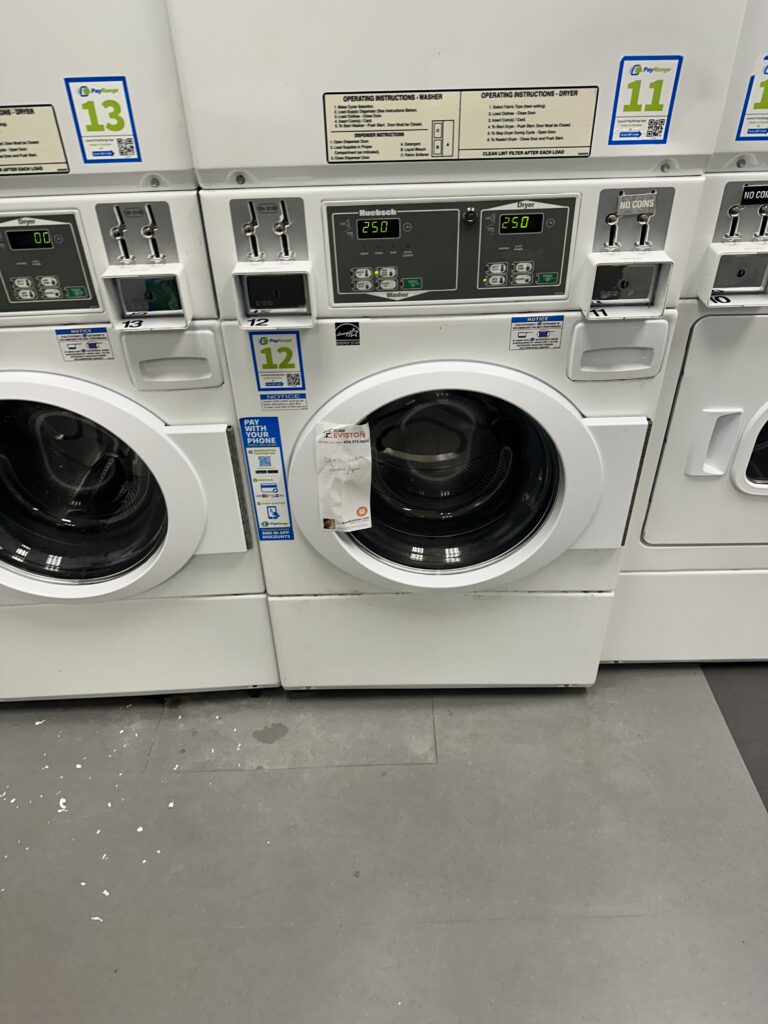
Dryer vents in Metro Vancouver face some local challenges that make regular attention more important.
Long condo runs
In many towers and low-rises, stacked laundry sits in a closet in the middle of the unit. The exhaust duct has to travel through ceilings or walls to reach an exterior wall or a shared shaft. Long runs with several bends collect lint faster. As a reference point, the International Residential Code caps a standard dryer exhaust duct at 35 feet and deducts 5 feet for every sharp 90-degree elbow. A duct with four tight bends is effectively capped around 15 feet. BC has its own code requirements, and manufacturers publish their own limits, but the principle holds: every bend costs airflow.
Hidden ductwork
When the duct runs through finished drywall, nobody sees it until something goes wrong. Many people with a slow-drying stacked unit have never seen their vent, and in many condos the exterior portion falls under strata maintenance.
Old houses, older ducts
Character homes in East Van, Kitsilano and Mount Pleasant often have laundry that was moved or renovated over the decades. It’s common to find foil accordion ducting stretched behind the machine or crushed against the wall.
Wet weather at the exterior hood
Constant moisture at the vent hood can make lint cake and stick to the louvers instead of blowing clear. Birds and wasps also nest in vent caps. If the flap doesn’t open when the dryer is running, the exhaust has nowhere to go.
A Quick Note on Ventless Dryers
Many condos, particularly newer ones and those with European brands, use condenser or heat pump dryers that don’t vent outside at all. Models from Bosch, and some LG and Samsung lines fall into this category.
The airflow principle still applies, but the maintenance is different. Instead of a duct, these dryers have condenser units or secondary filters that need regular rinsing or clearing. A clogged condenser causes the same long cycles and overheating as a blocked vent. Check your manual for the cleaning schedule, because it’s often more frequent than people expect.
Signs Your Vent Needs Attention
You don’t need special tools to spot a restriction. Watch for:
- Clothes that are still damp at the end of a normal cycle
- Drying times that have crept longer over the past few months
- A dryer cabinet that’s unusually hot to the touch
- A burning smell or a stronger-than-usual laundry smell while it runs
- An exterior vent flap that barely moves while the dryer is on
- Lint collecting around the outside vent hood or behind the dryer
- A laundry room that gets humid or condensation on nearby walls
One simple check: with the dryer running, go outside and feel the airflow at the hood. It should be strong and warm. A weak puff means something between the dryer and the wall is in the way.
How Often Should You Clean It?
The baseline most manufacturers and fire services recommend:
- Every load: clean the lint screen. If you use dryer sheets, wash the screen with warm soapy water every month or two, because residue can build up an invisible film that blocks airflow.
- Every year: clean the full vent run, from the dryer connection to the exterior hood.
- More often if you have a large household, run several loads a day, dry a lot of towels and bedding, have pets that shed, or have a long duct run.
You can safely clean a short, accessible duct yourself with a vent brush kit. Unplug the dryer first (and close the gas valve on a gas model), disconnect the duct, brush and vacuum it in sections, and clear the exterior hood. Replace any plastic or foil duct while you’re there.
What you shouldn’t do is bypass a blown thermal fuse to get the dryer running again, or run the dryer with the duct disconnected for more than a quick airflow test. Leave work inside the cabinet, on gas connections, or on ductwork hidden inside walls to people with the right equipment.
When the Problem Isn’t Just the Vent
A clean vent is the best maintenance you can give a dryer, but it won’t undo damage that’s already done. If the thermal fuse has blown, the high-limit thermostat has failed, or the heating element has burned through, the dryer needs a repair as well as a cleaning.
The same applies to laundry center units, where the dryer and washer share a frame. Problems in one machine can show up in the other, and access is tighter.
If you’re dealing with appliance repair in Vancouver for a dryer that’s still not drying properly after the vent has been cleared, that’s a clear sign something inside the machine has failed and needs to be tested.
How We Approach Dryer Problems at Barton

When one of our technicians comes out for a dryer that isn’t heating, we don’t just swap the first part that tests bad. A blown thermal fuse almost always has a reason behind it, so we look at airflow, the lint inside the cabinet, and the exhaust path as part of the diagnosis. Replacing a fuse while the restriction is still there just sets you up for another call in a few weeks.
Our vans carry the parts that fail most often on dryers, including heating elements, thermostats, and belts, so we often finish repairs on the first visit. We use OEM parts, every repair comes with a parts and labor warranty, and the $100 diagnostic fee is credited toward the repair if you go ahead. If a dryer isn’t worth saving, we’ll tell you that too.